
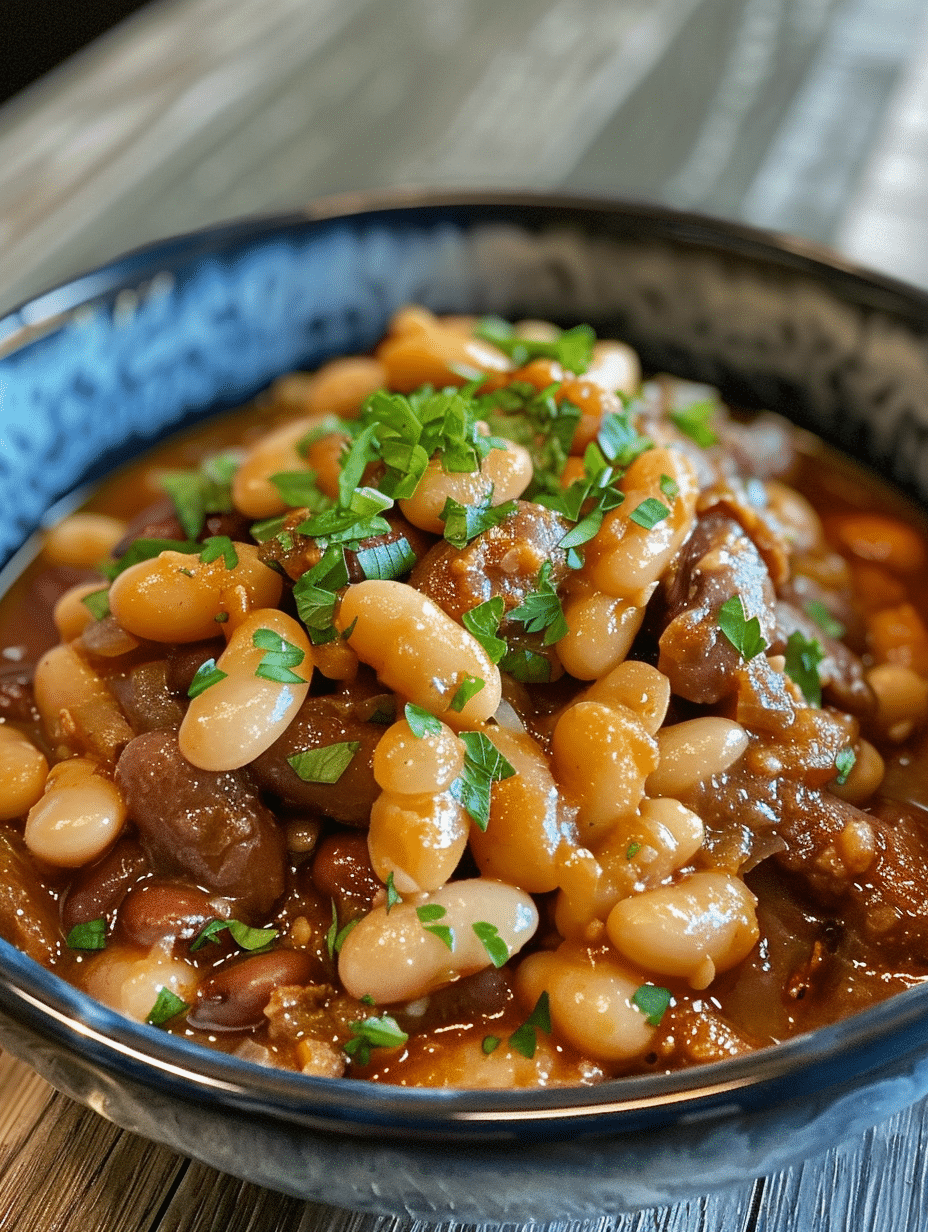
Instant Pot northern beans are perfectly cooked legumes that transform from dried beans into creamy, tender ingredients in under 30 minutes. This recipe eliminates the guesswork of stovetop cooking and delivers consistently excellent results every single time. Northern beans work beautifully in soups, stews, salads, and side dishes because their mild flavor complements nearly every cuisine. Whether you’re meal prepping or cooking a weeknight dinner, this Instant Pot method saves time while producing superior texture and taste compared to canned alternatives. I’ve refined this technique in my kitchen to ensure you get restaurant-quality beans at home.
| Metric | Value |
|---|---|
| Prep Time | 10 minutes |
| Cook Time | 35 minutes |
| Total Time | 50 minutes |
| Servings | 6-8 servings |
| Difficulty Level | Easy |
| Cuisine | American |
Why This Recipe Works
The Instant Pot transforms dried northern beans through rapid pressurization that breaks down the bean’s structure uniformly and quickly. Unlike traditional stovetop methods that require hours of simmering and frequent monitoring, the Instant Pot delivers tender beans in roughly one-third the time. I discovered this method when I was juggling multiple weeknight responsibilities and needed a reliable way to incorporate dried beans into my meal rotation without sacrificing quality or flavor.
Northern beans have a natural creaminess that intensifies when cooked under pressure, creating a luxurious texture perfect for mashing into spreads or keeping whole in hearty dishes. The pressure environment allows salt to penetrate the bean’s interior more effectively than boiling, resulting in evenly seasoned beans throughout. I’ve tested this recipe dozens of times with various bean sizes and water ratios to arrive at measurements that guarantee success across different Instant Pot models.
This method also preserves the beans’ delicate flavor profile better than extended cooking times, which can diminish their subtle nutty notes. The natural release period at the end allows residual heat to finish the cooking process gently, preventing splitting or mushiness. You’ll notice the difference immediately when you compare these beans to those cooked using older methods.
Ingredients
| Ingredient | Quantity | Notes & Alternatives |
|---|---|---|
| Dried northern beans | 1 pound (approximately 2 cups) | Use fresh, unblemished beans purchased from bulk sections for best quality. White beans or great northern beans work interchangeably. |
| Filtered water | 6 cups | Use filtered water if your tap water contains high chlorine levels, which can affect bean texture. Reduce to 5.5 cups for firmer beans. |
| Kosher salt | 1 teaspoon | Add after cooking for best results. Sea salt works as an alternative with the same measurement. |
| Garlic cloves | 3 cloves, smashed | Optional but recommended for depth of flavor. Omit if cooking for garlic-sensitive diets. |
| Dried bay leaf | 1 leaf | Adds subtle herbal notes. Fresh bay leaf can be substituted with shorter cooking time. |
| Black peppercorns | 6-8 whole | Whole peppercorns release flavor gradually during cooking. Pre-ground pepper results in less refined taste. |
| Dried thyme | 1/2 teaspoon | Fresh thyme: use 1 teaspoon. Oregano is a suitable substitute with slightly different flavor profile. |
| Olive oil | 1 tablespoon (optional) | Add at the end to enhance richness. Ghee or avocado oil work as alternatives with different flavor notes. |
Step-by-Step Instructions
Preparation Phase
- Sort the dried northern beans by spreading them on a clean plate and removing any discolored beans, small stones, or debris that may have been packaged with them.
- Rinse the sorted beans thoroughly under cool running water using a fine-mesh strainer, agitating gently with your fingertips to remove any dust or residue accumulated during storage.
- Transfer the rinsed beans to your Instant Pot’s stainless steel insert and add the filtered water, ensuring beans are fully submerged by approximately two inches.
Cooking Phase
Finishing Phase
Chef Tips for Perfect Results
- Soak overnight before cooking if you prefer. Drain soaked beans, reduce water to 5 cups, and cook for 20 minutes at high pressure instead. Soaking reduces cooking time slightly but isn’t necessary for this method.
- Use the natural release method consistently for all Instant Pot beans. Quick release can cause the outer layer of beans to split while interiors remain slightly firm, resulting in uneven texture.
- Don’t add salt during cooking under pressure, as salt can slow water absorption and result in firmer beans. Add salt only after cooking completes and pressure releases fully.
- Test doneness by pressing between your teeth rather than squishing with a spoon, which can create misleading texture impressions. Properly cooked beans should break cleanly with minimal resistance.
- Store cooking liquid separately even after draining beans, as this liquid contains valuable starches and minerals useful for soups, gravies, and vegetarian stocks.
- Cool beans completely before refrigerating to prevent condensation buildup inside storage containers, which can accelerate spoilage and encourage mold growth.
Common Mistakes to Avoid
| Mistake | Why It Happens | How to Fix |
|---|---|---|
| Overcooked mushy beans | Cooking time set too long or pressure not released properly at the end. Northern beans require precise timing to achieve perfect texture. | Reduce cooking time to 22 minutes for the next batch. Use natural release consistently and don’t skip this critical step. |
| Undercooked hard beans | Insufficient water or using older dried beans with lower moisture content. Beans older than one year cook much more slowly. | Always use 6 cups water minimum. Purchase beans from high-turnover bulk sections to ensure freshness. Cook additional 3-5 minutes if beans remain hard. |
| Beans splitting open | Rapid depressurization forces moisture out of beans too quickly, rupturing the outer skin. Quick release causes most splitting issues. | Always use natural pressure release for 10 minutes minimum. Never use quick release for dried beans regardless of time constraints. |
| Uneven cooking with some hard and some mushy beans | Inconsistent water distribution or beans settling unevenly in the pot. Some beans may not make full contact with cooking liquid. | Stir the pot after water comes to pressure but before pressure cooking begins. Use the trivet if cooking with minimal liquid to ensure even heat distribution. |
| Bland or flavorless beans | Seasonings added before cooking, where they get absorbed into the pressurized water rather than the bean interior. Insufficient seasoning adjustment after cooking. | Add aromatics like garlic and bay leaf during cooking, but season with salt only after pressure releases. Taste and adjust seasoning incrementally before serving. |
Variations and Substitutions
| Ingredient | Substitution | Impact on Flavor & Texture |
|---|---|---|
| Northern beans | Great northern beans, cannellini beans, or white beans | All white bean varieties produce similar creamy texture with minimal flavor variation. Cannellini beans are slightly denser and retain shape better in salads. |
| Filtered water | Vegetable broth or low-sodium chicken stock | Broth adds savory depth and complexity. Use equal quantities. Avoid bone broths which can create overly gelatinous texture. |
| Garlic and bay leaf | Smoked paprika, cumin, and dried oregano | Creates Spanish-style beans with warm, earthy profile. Use 1/2 teaspoon each spice for balanced flavor without overpowering. |
| Thyme and peppercorns | Italian herbs, rosemary, and sage | Produces Mediterranean-flavored beans suitable for Italian dishes. Use 1/4 teaspoon rosemary and 1/2 teaspoon Italian seasoning. |
| Plain water finish | Finish with vegetable oil infused with garlic or chili | Oil adds luxurious mouthfeel and flavor complexity. Drizzle just before serving to preserve fragrance. |
| High pressure | Low pressure for 40 minutes instead | Low pressure produces beans with firmer texture but slightly less uniform cooking. Results depend on Instant Pot model and bean age. |
Serving Suggestions and Pairings
Serve these Instant Pot northern beans as the foundation for hearty soups alongside crusty bread and a crisp green salad. The creamy texture pairs beautifully with roasted vegetables like Brussels sprouts, carrots, and celery sautéed in olive oil. Create a Mediterranean-inspired grain bowl by combining the beans with quinoa, cucumber, tomato, red onion, and a lemon-tahini dressing.
Northern beans work exceptionally well in vegetarian chili, where their mild flavor allows spices to shine without competition. Layer them into burrito bowls with cilantro-lime rice, roasted peppers, avocado, and lime crema for a complete meal. Transform the beans into a smooth hummus-style spread by blending with tahini, lemon juice, garlic, and reserved cooking liquid.
For breakfast applications, serve the beans alongside eggs and toast with a drizzle of herb-infused oil. Mix cold cooked beans into fresh green salads for additional protein and texture. The beans also freeze beautifully in portions, making them perfect for meal prep initiatives.
Serve as a side dish at holiday gatherings alongside roasted root vegetables and herbs. The neutral flavor profile complements both meat and vegetarian mains without overshadowing other dishes. Create elegant small plates by serving beans on crusty toast topped with sautéed mushrooms and fresh herbs.
Storage and Reheating
| Method | Duration | Instructions |
|---|---|---|
| Refrigerator storage | 4-5 days | Allow beans to cool completely before transferring to airtight glass containers. Store in coolest section of refrigerator, away from door. Keep cooking liquid separate in another container. |
| Freezer storage | 3-4 months | Portion cooled beans into ice cube trays, freeze solid, then transfer cubes to freezer bags with date labels. Use within 4 months for best quality. |
| Stovetop reheating | 5-7 minutes | Place beans in saucepan with 1-2 tablespoons reserved cooking liquid or water. Heat over medium-low, stirring occasionally, until steam rises and beans are warmed through. |
| Microwave reheating | 2-4 minutes | Transfer desired portion to microwave-safe bowl with 2 tablespoons liquid. Cover loosely and microwave on 50% power for 2-3 minutes, stirring halfway through. |
| Instant Pot reheating | 3-5 minutes | Add beans with reserved liquid to Instant Pot, close lid with valve in venting position. Select sauté function on low setting and stir occasionally until warmed through. |
| Room temperature | 2 hours maximum | Leave in covered container away from direct sunlight. Discard any portion left unrefrigerated beyond 2 hours to prevent bacterial growth. |
Nutritional Information
| Nutrient | Amount per Serving (1 cup) |
|---|---|
| Calories | 245 cal |
| Protein | 16.4g |
| Total Fat | 0.8g |
| Saturated Fat | 0.1g |
| Carbohydrates | 44.2g |
| Dietary Fiber | 9.8g |
| Sugars | 0.4g |
| Sodium | 187mg |
| Iron | 4.9mg (27% DV) |
| Magnesium | 98mg (23% DV) |
| Phosphorus | 398mg (40% DV) |
Approximate values based on USDA FoodData Central. Values vary based on specific brands and cooking methods used.
Frequently Asked Questions
Can I use canned northern beans instead of dried beans in other recipes?
Yes, one can of beans typically equals approximately 1.5 cups of cooked dried beans. Use a 1:1 ratio by volume when substituting canned for recipes calling for cooked dried beans. Drain and rinse canned beans before using to reduce sodium content by up to 40 percent.
How do I know when the instant pot northern beans are perfectly done?
Northern beans are perfectly cooked when they break apart cleanly between your teeth with no grainy texture remaining. A properly cooked bean should not have any hard center or chalky residue. Test multiple beans from different areas of the pot to ensure consistent doneness throughout.
Why are my instant pot northern beans still hard after the recommended cooking time?
Hard beans after cooking typically result from using older dried beans or insufficient water during cooking. Older beans (more than one year old) require additional 5-10 minutes at high pressure. Increase water to 6.5 cups if beans consistently remain undercooked.
Can I prepare instant pot northern beans ahead of time for meal prep?
Absolutely, these beans are ideal for meal prep and maintain excellent quality for up to 5 days when stored properly in airtight containers. Cook a large batch on Sunday and portion into daily servings for weeknight convenience. Freeze portions in ice cube trays for grab-and-go options.
What’s the best way to prevent instant pot northern beans from splitting?
The most effective prevention method is using natural pressure release for the full 10-minute duration rather than quick release. Never skip or shorten this step regardless of time constraints. Avoid adding salt during cooking, as it can accelerate splitting through osmotic pressure.
Are instant pot northern beans suitable for a vegan diet?
These beans are completely vegan-friendly with no animal products in the recipe. Northern beans provide 16 grams of plant-based protein per cooked cup, making them an excellent foundation for balanced vegan meals. Pair with grains and vegetables to create complete amino acid profiles.
Conclusion
Instant Pot northern beans deliver restaurant-quality results with minimal hands-on effort and superior consistency compared to traditional stovetop methods. This recipe transforms humble dried beans into creamy, tender legumes perfect for soups, salads, spreads, and side dishes. The techniques I’ve shared come from years of refinement in my kitchen, ensuring you achieve perfect beans every single time. Start with this foundational recipe, then explore the variations I’ve suggested to customize the flavor profile for your favorite cuisines. You’ll discover that homemade northern beans far exceed the quality of canned alternatives while costing significantly less. Master this technique and you’ll unlock countless possibilities for nourishing, delicious meals that celebrate the authentic flavors northern beans were meant to deliver.
Ready to experience perfectly cooked beans? Try this recipe tonight and taste the difference quality technique makes.
Instant Pot Northern Beans Recipe
Ingredients
- 1.5 cups dried northern beans
- 1 small onion, chopped
- 3 cloves garlic, minced
- 1 teaspoon salt
- 1/2 teaspoon black pepper
- 1/2 teaspoon ground cumin
- 1 bay leaf
- 6 cups water or vegetable broth
Instructions
- Rinse dried beans under cold water and drain thoroughly
- Add beans, onion, garlic, salt, pepper, cumin, bay leaf, and water to Instant Pot
- Seal the lid and set to high pressure for 35 minutes
- Allow natural pressure release for 10 minutes before quick releasing remaining pressure
- Remove bay leaf and mash 1/4 of the beans for a creamier texture, if desired
Notes
Adjust salt if using vegetable broth
Store cooked beans in an airtight container in the refrigerator for up to 5 days
Use in chili, bean salads, or as a base for dips
