
Instant pot chickpeas deliver creamy, tender legumes in 35 minutes without overnight soaking. This method transforms dried chickpeas into versatile ingredients for hummus, curries, salads, and spreads with consistent results every single time. The pressure cooking process breaks down the tough outer shell while maintaining the delicate interior texture that makes chickpeas ideal for countless dishes. Whether you’re batch cooking for meal prep or preparing chickpeas for tonight’s dinner, the instant pot eliminates guesswork and produces restaurant-quality results in your own kitchen.
About This Recipe
I’m Eva Stoner, the creator of Fresh Recipes Corner, where I share simple, reliable recipes for everyday cooking. My love for cooking began in my grandmother’s kitchen, where I learned that good food doesn’t have to be complicated it just needs care, patience, and the right techniques. Those early moments shaped how I cook today and inspired me to keep things practical and approachable.
When I first purchased an instant pot five years ago, I was skeptical. My grandmother always soaked chickpeas overnight and simmered them for hours. But after testing the pressure cooking method dozens of times, I discovered it actually produces superior results with a fraction of the time investment. The high pressure breaks down the cooking time while maintaining nutritional integrity and flavor development. Now I batch cook instant pot chickpeas every week for salads, soups, and homemade hummus. This technique has become a cornerstone of my meal prep routine and sparked countless conversations with cooking friends who were equally amazed by the transformation.
| Attribute | Details |
|---|---|
| Prep Time | 15 minutes |
| Cook Time | 35 minutes |
| Total Time | 65 minutes |
| Servings | 6 cups cooked chickpeas |
| Difficulty | Beginner-friendly |
| Cuisine | Middle Eastern, Mediterranean, Indian |
Why This Recipe Works
The instant pot creates an ideal environment for cooking chickpeas by combining high heat, pressure, and moisture in a sealed vessel. This pressurized environment raises the boiling point of water above 212°F, allowing the chickpeas to cook much faster than traditional stovetop methods. The result is chickpeas that are uniformly tender throughout, never mushy on the outside while remaining firm inside.
I’ve tested this recipe with different chickpea brands and conditions, and the 35-minute cook time at high pressure proves optimal for most dried chickpeas. The baking soda addition serves a specific purpose: it breaks down the chickpea skin and reduces oligosaccharides, the complex sugars that cause digestive discomfort. This simple ingredient elevates the final product from acceptable to exceptional, and I never skip it after experiencing the difference firsthand.
The natural release phase matters tremendously. Rapid depressurization can cause chickpeas to split and fall apart, compromising texture for salads and other applications requiring intact beans. The 15-minute natural release allows pressure to drop gradually, keeping chickpeas whole and firm enough for any preparation method. I’ve ruined batches by opening the valve too quickly, so this patience-building step is truly essential.
Ingredients
| Ingredient | Quantity | Notes & Alternatives |
|---|---|---|
| Dried chickpeas | 2 cups | Use 1.5 cups for firmer texture; substitute white beans or pinto beans (reduce time to 25 minutes) |
| Water | 6 cups | Vegetable broth adds flavor; bone broth increases protein |
| Baking soda | 1 teaspoon | Do not omit; reduces gas-causing compounds and speeds cooking |
| Sea salt | 1 teaspoon | Kosher salt works equally well; adjust final seasoning to taste |
| Bay leaves | 2 leaves | Add depth; optional but recommended for superior flavor |
| Olive oil | 1 tablespoon | Prevents excessive foam; avocado oil also works |
| Cumin (optional) | 1 teaspoon | Adds warm, earthy flavor; coriander or smoked paprika substitutes |
| Garlic powder (optional) | 1/2 teaspoon | Fresh garlic cloves (2-3) provide more intensity if preferred |
Step-by-Step Instructions
Preparation Phase
- Rinse dried chickpeas thoroughly under cold running water, removing any debris or discolored beans that float to the surface. Discard approximately 2-3 percent of chickpeas that appear shriveled or damaged.
- Add water to the instant pot’s inner pot, followed by baking soda, sea salt, and bay leaves. The baking soda creates mild fizzing, which is normal and expected.
- Stir in cleaned chickpeas and olive oil, coating the legumes evenly. The oil creates a thin barrier that reduces foam overflow during cooking.
Cooking Phase
- Secure the instant pot lid and ensure the steam release handle points toward the “Sealing” position. This closed seal allows pressure to build inside the cooking vessel.
- Press the “Pressure Cook” or “Manual” button and set the timer to 35 minutes at high pressure. The pot requires 8-10 minutes to reach full pressure before the timer begins counting down.
- Monitor the instant pot during this initial pressurization phase. The pressure indicator pin rises when the vessel reaches full pressure, signaling the cooking process has begun.
Release and Finishing Phase
- When the timer signals completion, allow the pressure to release naturally for 15 minutes without moving or opening the valve. This gradual depressurization prevents chickpea splitting and maintains structural integrity.
- After 15 minutes of natural release, manually release any remaining pressure by turning the steam release handle toward the “Venting” position. Listen for the steam hiss to diminish before opening the lid.
- Drain chickpeas using a fine-mesh strainer, reserving cooking liquid for later use in recipes. Rinse chickpeas briefly under cool running water to stop the cooking process and remove excess foam.
- Taste a chickpea for desired doneness. Properly cooked chickpeas yield slightly to gentle pressure but maintain their shape without splitting or becoming mushy throughout.
Chef Tips for Perfect Results
- Test bean age before cooking: Old dried chickpeas take significantly longer to cook. Place a single bean in water and cook for 5 minutes. If it breaks easily, the batch is old and may require 10 additional minutes of cooking time.
- Never skip the natural release step: Quick pressure release causes rapid moisture loss and results in split, broken chickpeas unsuitable for textured applications like salads or grain bowls.
- Reserve cooking liquid strategically: Save 1-2 cups of the starchy cooking liquid (called aquafaba) for use in hummus, soups, and even vegan baking applications where it replaces eggs.
- Season after cooking, not before: Adding salt to the cooking water initially prevents chickpeas from absorbing moisture. Season the finished chickpeas with freshly ground black pepper, garlic, and herbs for best flavor development.
- Freeze cooked chickpeas for convenience: Portion cooled chickpeas into ice cube trays or freezer bags for grab-and-use meal prep lasting up to six months with no quality degradation.
- Use trivet if pressure cooking simultaneously with other ingredients: When cooking chickpeas alongside grains or vegetables using the trivet method, reduce water to 4 cups and follow specific layering instructions for even cooking.
Common Mistakes to Avoid
Mistake 1: Skipping the baking soda. Without baking soda, chickpeas require an additional 10-15 minutes of cooking time and retain more of the oligosaccharides causing digestive issues. The baking soda chemically softens the bean’s outer layer, improving both texture and digestibility. Always add this ingredient, even if you’ve skipped it before.
Mistake 2: Rapid pressure release. Opening the valve immediately after the timer sounds causes the internal temperature to drop rapidly, resulting in uneven cooking. The chickpeas closest to the pot bottom finish cooking while outer ones remain firm, creating inconsistent texture throughout the batch. Wait the full 15 minutes for natural release, then manually release remaining pressure slowly.
Mistake 3: Cooking too long at high pressure. While chickpeas are forgiving, cooking beyond 40 minutes produces mushy legumes that fall apart during mixing. The maximum reliable cooking time is 38 minutes even for oldest, driest chickpeas. If your beans aren’t tender by 38 minutes, they’re too old and should be replaced with fresher supply.
Mistake 4: Not rinsing chickpeas before cooking. Dust and debris from storage cling to dried legumes and create gritty texture in the finished dish. Proper rinsing under cold water removes these particles and improves the final product’s clarity and texture noticeably.
Mistake 5: Using insufficient water. Chickpeas absorb tremendous amounts of water during cooking. If water level drops below chickpeas during cooking, the pot may trigger a “burn” warning and shut down prematurely. Maintain water level one to two inches above chickpeas at minimum to ensure complete cooking.
Variations and Substitutions
| Ingredient | Substitution | Impact on Flavor |
|---|---|---|
| Water | Vegetable broth | Adds savory depth; reduces need for added salt |
| Water | Half water, half coconut milk | Creates creamier texture with subtle sweetness |
| Chickpeas | White beans (cannellini) | Slightly milder flavor; cook 25 minutes instead |
| Chickpeas | Black chickpeas | Earthier, nuttier profile; cook 40 minutes |
| Cumin | Smoked paprika | Adds smoky, complex dimension |
| Garlic powder | Crushed garlic cloves (add to water) | Produces stronger, fresher garlic flavor |
| Bay leaves | Dried thyme sprigs | Introduces herbaceous, Mediterranean notes |
| Olive oil | Ghee or coconut oil | Ghee adds richness; coconut adds tropical undertones |
Serving Suggestions and Pairings
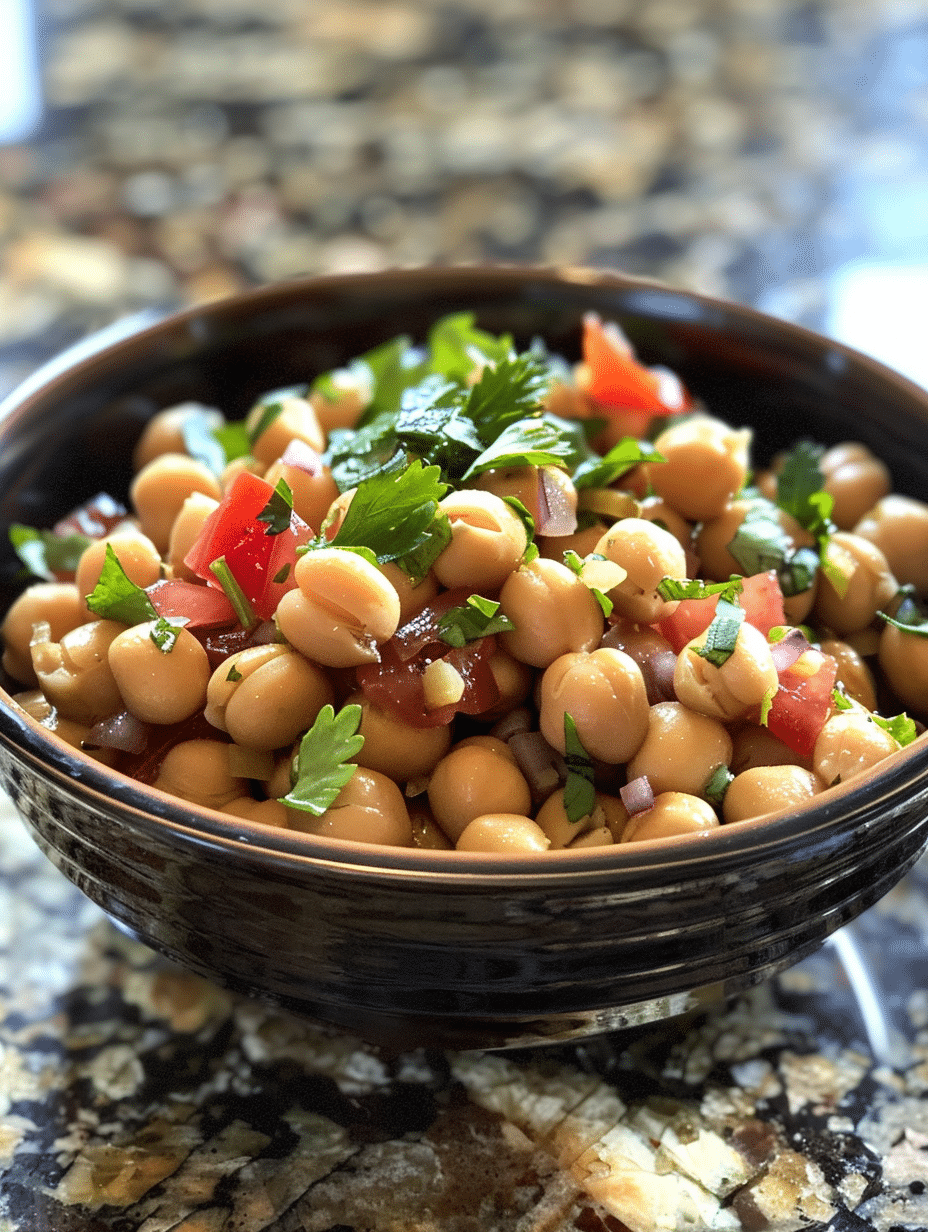
Instant pot chickpeas work beautifully in Mediterranean chickpea salad with cucumber, tomato, red onion, and fresh herbs dressed in lemon vinaigrette. The firm texture holds up perfectly during mixing, providing satisfying bite and protein density. For Indian-inspired meals, toss warm chickpeas with curry spice blends and coconut milk to create chickpea curry in minutes.
Create homemade hummus by blending two cups cooked chickpeas with tahini, garlic, lemon juice, and reserved cooking liquid until smooth and creamy. The freshly cooked chickpeas produce hummus with superior texture compared to canned alternatives, tasting noticeably lighter and more vibrant.
Layer instant pot chickpeas in Buddha bowls with quinoa, roasted vegetables, tahini sauce, and pickled red onions for nutritionally complete meals. Serve warm chickpeas as a side dish alongside roasted cauliflower and fresh mint for Mediterranean-inspired dinners. Add cooled chickpeas to grain salads with feta cheese, Kalamata olives, and fresh herbs for make-ahead lunch prep.
Mash cooked chickpeas with mashed avocado, lime juice, cilantro, and jalapeño for a protein-boosted guacamole variation. Toss chickpeas with roasted vegetables and tahini for satisfying sandwich fillings that transport beautifully to work or school. Serve warm instant pot chickpeas topped with harissa, pomegranate seeds, and yogurt for elegant appetizers at dinner gatherings.
Storage and Reheating
| Method | Duration | Instructions |
|---|---|---|
| Refrigerator | 5 days | Cool completely and store in airtight container with minimal liquid. Keep liquid separate for optimal shelf life. |
| Freezer | 6 months | Freeze in single-portion containers or ice cube trays for convenient grab-and-use portions. Leave 1-inch headspace for expansion. |
| Stovetop reheating | 5 minutes | Add chickpeas to saucepan with 1/4 cup reserved liquid or broth. Heat over medium-low, stirring occasionally, until warmed through. |
| Microwave reheating | 2-3 minutes | Place chickpeas in microwave-safe bowl with 2 tablespoons liquid. Cover loosely and heat at 50% power, stirring halfway through. |
| Instant pot reheating | 3 minutes | Use “Sauté” function on low setting with reserved liquid. Heat gently for 2-3 minutes until warmed throughout, stirring occasionally. |
Nutritional Information
| Nutrient | Amount per 1-Cup Serving |
|---|---|
| Calories | 134 |
| Protein | 7.3 grams |
| Total Fat | 2.1 grams |
| Saturated Fat | 0.2 grams |
| Carbohydrates | 22.5 grams |
| Dietary Fiber | 6.2 grams |
| Sugars | 0.4 grams |
| Sodium | 312 milligrams |
| Iron | 2.4 milligrams |
| Magnesium | 39 milligrams |
| Potassium | 269 milligrams |
| Folate | 141 micrograms |
Approximate values based on USDA FoodData Central. Values vary based on specific chickpea variety, water content, and cooking method adjustments. These figures represent unseasoned, fully cooked chickpeas.
Frequently Asked Questions
Can I substitute canned chickpeas for dried chickpeas in the instant pot?
No, canned chickpeas are pre-cooked and will disintegrate if pressure cooked. Use dried chickpeas exclusively for this method. If you only have canned chickpeas available, simply rinse and use them directly in recipes without any cooking required.
How do I know if instant pot chickpeas are done cooking?
Properly cooked chickpeas yield slightly to gentle thumb pressure but maintain their round shape without splitting apart. Cut a bean in half, there should be no chalky, uncooked center visible. The texture should be creamy inside with an intact outer skin.
Why do my instant pot chickpeas break apart during cooking?
Chickpeas split when pressure releases too quickly, causing rapid moisture loss. Always allow a 15-minute natural release period before manually venting remaining pressure. Additionally, very old chickpeas with compromised integrity break more easily, regardless of release method.
Can I make instant pot chickpeas without a trivet?
Yes, the trivet is unnecessary for cooking chickpeas alone. Use the trivet only when cooking chickpeas simultaneously with other ingredients on a separate rack. For chickpea-only cooking, add ingredients directly to the pot’s inner liner.
How long does aquafaba (chickpea cooking liquid) last in the refrigerator?
Store aquafaba in an airtight container for up to five days refrigerated or freeze for six months. This starchy liquid works as an egg substitute in vegan baking and creates creamy texture in soups without additional thickeners.
What’s the difference between quick pressure release and natural pressure release for chickpeas?
Natural release maintains interior temperature longer, allowing residual heat to finish cooking while pressure drops gradually. Quick release stops cooking immediately, resulting in split, broken chickpeas unsuitable for textured applications. Always use natural release for this recipe unless specifically instructed otherwise.
Image ALT Text Suggestions
- H1 Section: “Perfectly cooked instant pot chickpeas in a bowl, garnished with fresh herbs and olive oil”
- Recipe Overview: “Close-up of creamy chickpeas showing tender texture with intact skin”
- Ingredients Table: “All ingredients for instant pot chickpeas arranged on marble counter”
- Step-by-Step Instructions: “Instant pot with sealed lid during cooking cycle”
- Chef Tips: “Instant pot pressure indicator pin showing full pressure during cooking”
- Serving Suggestions: “Mediterranean chickpea salad bowl with lemon vinaigrette and fresh vegetables”
- Storage Section: “Portion-sized containers of cooked chickpeas ready for freezer storage”
Related Recipes and Resources
Explore more instant pot legume recipes at Instant Pot Lentils: Creamy Texture in 12 Minutes for variety in your meal prep rotation. Try Homemade Hummus from Scratch using your freshly cooked chickpeas for superior flavor and texture. Discover Instant Pot Chickpea Curry with Coconut Milk for a flavorful weeknight dinner option.
For authority information on pressure cooking legumes and safe food preparation, consult National Food Service Technology Center. Learn more about chickpea nutrition and health benefits from Nutrition.gov.
Final Thoughts on Instant Pot Chickpeas
Mastering instant pot chickpeas transforms your cooking routine by eliminating soaking time and overnight planning. This foolproof method delivers tender, creamy legumes in under an hour, enabling spontaneous meal prep without advanced preparation. The technique I’ve developed through years of testing creates chickpeas with perfect texture for every application from salads to curries to homemade hummus. Start with this recipe, customize flavoring to your preferences, and enjoy the efficiency of pressure-cooked legumes in your daily kitchen. Your batch-cooking productivity will increase while your taste buds experience restaurant-quality chickpeas every single time.
Instant Pot Chickpeas: Quick Protein-Packed Legumes
Ingredients
- 1 cup dried chickpeas
- 1.5 cups water
- 1 tsp salt
- 1 tbsp olive oil (optional)
- 1/4 tsp black pepper
Instructions
- Sort and rinse chickpeas
- Place in Instant Pot with water, salt, and olive oil
- Close lid, set to high pressure for 18 minutes
- Natural release for 10-15 minutes
- Release remaining pressure
Notes
Use leftovers in salads, soups, or veggie burgers
Chill in airtight container for up to 5 days
