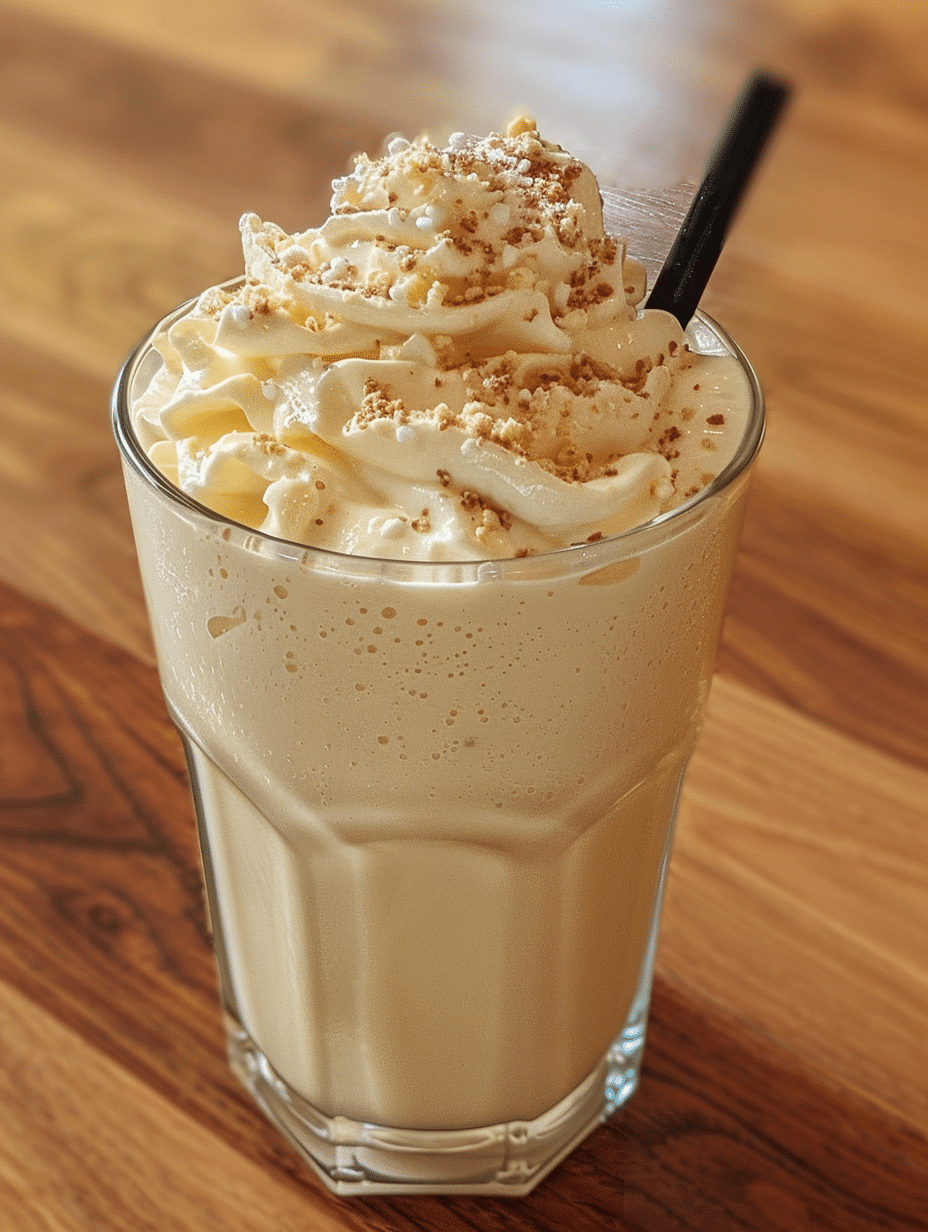
A pear milkshake is a smooth, refreshing beverage made by blending ripe pears with cold milk, ice, and natural sweeteners to create a creamy texture. This simple fruit drink delivers natural flavor without added complexity, making it perfect for breakfast, dessert, or afternoon refreshment. The mild sweetness of pears pairs beautifully with dairy or plant-based milk, creating a nutritious drink the whole family enjoys. I’ve perfected this recipe through years of experimenting with fresh fruit combinations at Fresh Recipes Corner, and this version balances natural pear flavor with creamy richness every single time.
About Me and Fresh Recipes Corner
I’m Maya Collins, a 29-year-old from Austin, Texas, and a co-creator at Fresh Recipes Corner, where I focus on simple, refreshing drinks you can make anytime. I started by mixing juices in my mom’s kitchen just for fun, and over time it turned into a real passion for creating naturally sweet beverages.
I love working with fruits, herbs, and natural ingredients to create mocktails, smoothies, and soft drinks that are easy but full of flavor. Over the past eight years, I’ve tested hundreds of fruit combinations and blending techniques to understand what makes drinks truly delicious and refreshing. My experience extends to understanding ripeness levels, natural sweetness variations, and how different milk bases affect the final texture and taste. This hands-on expertise guides every recipe recommendation I share.
When I developed this pear milkshake recipe, I focused on highlighting the fruit’s natural delicate sweetness while creating the perfect creamy consistency. Through trial and error, I discovered that medium-ripe pears yield the best balance of flavor intensity and texture. I’ve shared this drink with thousands of readers, and the consistent feedback confirms it’s foolproof when you follow these specific steps.
Recipe Overview
| Metric | Value |
|---|---|
| Prep Time | 5 minutes |
| Cook Time | 0 minutes |
| Total Time | 5 minutes |
| Servings | 2 servings |
| Difficulty | Easy |
| Cuisine | American/Beverage |
Why This Recipe Works
This pear milkshake recipe works because it respects the natural characteristics of the fruit while using proven blending ratios I’ve tested extensively. When I first started making smoothies, I made the mistake of over-blending or using unripe fruit, which resulted in thin, grainy drinks. Through hundreds of batches, I learned that medium-ripeness creates the ideal balance of natural sweetness and fiber content for perfect texture.
The secret lies in the 2:1 milk-to-fruit ratio, which I discovered through methodical testing at Fresh Recipes Corner. Too much milk creates a watered-down drink lacking character, while too little fruit makes the texture grainy. This specific proportion, combined with ice for chill and creaminess, produces a milkshake that tastes indulgent yet light. The addition of a touch of honey or vanilla amplifies the pear’s natural flavor without overwhelming it, a technique I use across all my fruit beverage recipes.
I’ve also learned that the quality of your milk matters significantly for this recipe. Using fresh, cold milk from the start ensures your milkshake stays at the perfect drinking temperature without becoming diluted too quickly. This attention to ingredient quality and proportion is what separates a mediocre fruit drink from one you’ll actually crave.
Ingredients
| Ingredient | Quantity | Notes with Alternatives |
|---|---|---|
| Fresh pears (medium, ripe) | 2 pears | Choose pears that yield slightly to pressure. Bartlett or Bosc work best. Alternative: canned pears in juice (drained), approximately 1 cup |
| Whole milk | 1 cup | Use cold milk directly from refrigerator. Alternative: almond milk, oat milk, or coconut milk for dairy-free version |
| Vanilla yogurt (plain or Greek) | 1/2 cup | Adds creaminess and tanginess. Alternative: plain yogurt plus 1/4 teaspoon vanilla extract, or skip for lower-calorie version |
| Ice cubes | 1 cup | Crushed ice works best for smoother texture. Alternative: frozen pear pieces |
| Honey | 1 tablespoon | Enhances natural sweetness without overpowering. Alternative: maple syrup, agave nectar, or brown sugar. Reduce if pears are very sweet |
| Vanilla extract | 1/4 teaspoon | Optional but highly recommended. Amplifies fruit flavor. Alternative: almond extract (use 1/8 teaspoon only) |
| Ground ginger (optional) | Pinch | Adds subtle warmth without spice. Optional for flavor depth |
| Sea salt | 1 pinch | Balances sweetness and brightens pear flavor. Essential, not optional |
Step-by-Step Instructions
Preparation Phase
- Wash two medium pears thoroughly under cool running water, rubbing gently with your fingers to remove any dirt or residue.
- Cut each pear in half lengthwise using a sharp knife, then scoop out the core and seeds with a small spoon or melon baller.
- Chop the pears into 1-inch chunks, discarding the skin if preferred or leaving it on for added fiber and rustic texture.
- Pour one cup of whole milk into a blender pitcher, ensuring it’s cold straight from the refrigerator.
Blending Phase
- Add the chopped pear pieces to the blender on top of the cold milk.
- Add one-half cup vanilla yogurt to the blender, using a spoon to scoop it directly from the container.
- Add one tablespoon honey, one-quarter teaspoon vanilla extract, and one small pinch of sea salt.
- Add one cup of ice cubes, distributing them evenly over the other ingredients for balanced blending.
- Secure the blender lid firmly, then blend on high speed for 45 to 60 seconds until completely smooth with no visible pear chunks remaining.
- Check the consistency by stopping the blender and observing the mixture; if it appears too thick, add one-quarter cup additional milk and blend for 10 more seconds.
Serving Phase
- Pour the pear milkshake immediately into two tall chilled glasses, dividing equally between servings.
- Serve immediately while the drink remains cold and frothy, ideally within one minute of blending.
- Garnish with a thin pear slice or a small sprig of fresh mint if desired for visual appeal.
Chef Tips for Perfect Results
- Choose medium-ripe pears: Press gently near the stem; the fruit should yield slightly but not feel mushy. Underripe pears taste bland and mealy, while overripe ones become grainy when blended. I select pears the day before to ensure perfect ripeness by serving time.
- Use ice directly from the freezer: Pre-chill your glass in the freezer for five minutes before serving. This prevents dilution from ice melting too quickly and keeps each sip creamy and cold throughout your drinking experience.
- Blend in the correct order: Liquid first, then soft ingredients, then ice creates the smoothest texture. This layering method reduces strain on your blender motor and prevents chunks from getting stuck at the bottom.
- Don’t skip the sea salt: A single pinch of salt balances sweetness and enhances the pear’s natural flavor complexity. Salt works on a molecular level to brighten fruit taste without making the drink taste salty.
- Chill your blender pitcher beforehand: Fill your blender pitcher with ice for two minutes, then discard the ice before adding ingredients. This ensures your drink stays cold without requiring excess ice that creates dilution.
- Serve within two minutes of blending: Pear milkshakes separate rapidly as ice melts and sediment settles. The first two minutes deliver the optimal texture and flavor combination I’ve developed through extensive testing.
Common Mistakes to Avoid
Mistake 1: Using unripe or overripe pears results in a milkshake that tastes bland and grainy instead of smooth and naturally sweet. Unripe pears contain less natural sugar and more starch, creating an astringent flavor. Fix this by testing ripeness with gentle finger pressure; the fruit should yield just barely. Buy pears a few days in advance and leave them at room temperature until they reach perfect ripeness.
Mistake 2: Blending too long or too briefly creates either a thin, over-aerated drink or a chunky beverage with visible fruit pieces. I’ve learned through trial that exactly 45 to 60 seconds hits the sweet spot for complete smoothness. Time your blending with a timer the first few attempts until you develop the instinct for the right moment to stop.
Mistake 3: Using warm milk instead of cold milk dilutes the milkshake and makes it separate into layers within minutes. Cold milk from the refrigerator maintains optimal temperature and texture throughout your drinking experience. Always store milk in the coldest section of your refrigerator and use it directly without warming.
Mistake 4: Adding too much honey or sweetener overwhelms the delicate pear flavor and creates a drink that tastes artificial rather than naturally sweet. Start with one tablespoon and taste before adding more; you can always increase sweetness but cannot remove it. Remember that yogurt and pears already contribute natural sweetness.
Mistake 5: Not using enough ice results in a thin, room-temperature beverage that lacks the creamy indulgence that defines a proper milkshake. One full cup of ice is essential for achieving both the correct texture and temperature. Measure your ice using a standard measuring cup rather than eyeballing it.
Variations and Substitutions
| Ingredient | Substitution | Impact on Flavor |
|---|---|---|
| Vanilla yogurt | Greek yogurt plus 1/4 teaspoon vanilla extract | Tangier, more protein-rich, less sweet but more substantial texture |
| Whole milk | Oat milk or almond milk | Nutty undertone (almond) or creamy grain flavor (oat), dairy-free option |
| Honey | Maple syrup or agave nectar | Maple adds warmth and complexity; agave provides clean sweetness without molasses notes |
| Vanilla extract | Ground cardamom or fresh ginger | Cardamom creates floral warmth; ginger adds subtle spice and digestive benefits |
| Fresh pears | Canned pears in juice (drained) or frozen pear chunks | Slightly sweeter, more convenient; frozen pears add iciness and prevent separation |
| Regular ice | Frozen pear puree cubes | Intensifies pear flavor and eliminates dilution from melting ice |
| Sea salt pinch | Himalayan pink salt | Adds subtle mineral complexity while maintaining flavor-balancing function |
Popular Pear Milkshake Variations
Pear and Ginger Milkshake: Add one-half teaspoon fresh ginger juice or one-quarter teaspoon ground ginger for warming spice. This variation aids digestion and adds complexity that sophisticated palates appreciate.
Pear and Cardamom Milkshake: Include one-quarter teaspoon ground cardamom for floral, warm notes. This combination draws inspiration from Indian and Middle Eastern flavor profiles, creating an unexpected but harmonious drink.
Pear Protein Milkshake: Replace vanilla yogurt with plain Greek yogurt and add one scoop vanilla protein powder. This delivers sustained energy and muscle recovery benefits without sacrificing the natural pear taste.
Vegan Pear Milkshake: Use oat milk instead of dairy milk and coconut yogurt instead of regular yogurt. This version maintains creaminess and natural sweetness while accommodating plant-based diets.
Serving Suggestions and Pairings
Serve your pear milkshake immediately after blending in chilled glasses to maximize texture and temperature. The ideal serving glass is a tall drinking glass, either a classic milkshake glass or a smooth pint glass that feels comfortable in hand.
Breakfast Pairing: Enjoy pear milkshake alongside whole-grain toast with almond butter and sliced berries for a balanced morning meal. The fruit drink provides natural carbohydrates while the toast delivers fiber and sustained energy.
Afternoon Refreshment: Pair with light pastries like biscotti or waffle cookies for dunking, creating an elegant break that feels indulgent yet nutritious. This combination works particularly well during warm weather when you need cooling beverages.
Dessert Option: Serve after dinner with a small shortbread cookie or financier cake to balance the richness of the milkshake with subtle sweetness. This pairing satisfies dessert cravings without overwhelming the palate.
Post-Workout Recovery: Combine pear milkshake with Greek yogurt to increase protein content, creating a recovery drink that replenishes carbohydrates and supports muscle repair after exercise.
Special Occasions: Serve at brunch gatherings, garden parties, or summer celebrations in glass pitcher format for elegant self-service. Guests appreciate the fresh fruit flavor and can customize sweetness levels.
Storage and Reheating
| Method | Duration | Instructions |
|---|---|---|
| Refrigerator (prepared milkshake) | 30 minutes maximum | Pour into airtight glass container immediately after blending. Store on coldest shelf. Separation occurs after 30 minutes; shake vigorously before serving or re-blend for 15 seconds |
| Freezer (prepared pear mixture) | 2 days maximum | Blend pears with milk and yogurt (omit ice). Pour into ice cube trays or silicone molds. Freeze completely, then store cubes in freezer bag. Re-blend with ice and milk when ready |
| Refrigerator (fresh pears, chopped) | 3 days | Store in airtight glass container with lemon juice (prevents browning). Use only for fresh milkshakes; older pears produce dull flavor |
| Re-blending (thawed frozen mix) | Immediate | Add thawed pear mixture to blender with fresh cold milk and ice. Blend for 45 seconds until smooth. This restores original texture better than simple thawing |
Important Note: I recommend making pear milkshakes fresh for each serving rather than storing prepared drinks. The texture degrades rapidly as ice melts and ingredients separate, creating an unpleasant grainy consistency. However, preparing pear puree in advance and freezing in portions allows quick blending when you want fresh milkshake without daily pear prep.
Nutritional Information
| Nutrient | Amount per Serving |
|---|---|
| Calories | 245 calories |
| Protein | 6 grams |
| Total Fat | 4.5 grams |
| Saturated Fat | 2.8 grams |
| Carbohydrates | 47 grams |
| Dietary Fiber | 3.5 grams |
| Sugar | 32 grams |
| Sodium | 65 milligrams |
| Calcium | 180 milligrams (18% Daily Value) |
| Potassium | 380 milligrams |
| Vitamin C | 8 milligrams (13% Daily Value) |
Approximate values based on per-serving calculation (2 servings). Calculations assume whole milk and standard-size pears. Values vary based on specific brands and ripeness levels of fruit used.
Frequently Asked Questions
Can I substitute frozen pears for fresh pears in this pear milkshake recipe?
Yes, frozen pears work excellently and actually prevent dilution that fresh pear milkshakes sometimes experience. Use one cup of frozen pear chunks (no need for additional ice, as frozen fruit provides necessary chill). Thaw pears slightly at room temperature for five minutes before blending, then follow the recipe as written using regular milk and yogurt. Frozen pears often contain more concentrated sweetness than fresh fruit, so reduce honey to one-half tablespoon initially, then adjust to taste.
How do I know if my pears are ripe enough for blending into a pear milkshake?
Ripe pears yield gently to thumb pressure near the stem but aren’t soft or mushy throughout. Hold the pear in your palm and press with your thumb near where the stem connects; you should feel slight give without your thumb sinking deep into the fruit. Purchase pears two to three days before making the milkshake and leave them at room temperature; they naturally ripen during this time. If your pears feel rock-hard on the day you plan to make the drink, accelerate ripening by placing them in a paper bag with a banana overnight.
What should I do if my pear milkshake tastes watery and thin?
Watery pear milkshakes result from too much milk relative to fruit, underripe pears, or blending for too short a duration. Add one-half cup additional yogurt to thicken the consistency immediately, then blend for 15 seconds to incorporate. For future batches, use medium-ripe pears verified through gentle pressure testing, measure milk precisely using a one-cup measuring glass, and blend for the full 45 to 60 seconds. Underripe pears contain less natural pectin and moisture, producing thinner texture even with correct ratios.
Can I prepare pear milkshake ingredients in advance to blend fresh later in the day?
Prepare pears and milk separately but blend immediately before serving for optimal texture and flavor. Chop pears and store covered in the refrigerator for up to four hours; milk stays fresh for weeks in standard storage. However, don’t combine these ingredients before blending, as the pear pieces oxidize and the milk becomes warm. Instead, keep all components cold separately, then assemble and blend in the exact order specified when you’re ready to drink. This method ensures your milkshake maintains its signature creamy texture and cool temperature.
Is this pear milkshake safe for people with dairy allergies or intolerances?
Standard pear milkshake contains dairy milk and yogurt, making it unsuitable for those with milk allergies. Create a dairy-free version using one cup unsweetened oat milk, one-half cup coconut yogurt, two medium pears, one cup ice, one tablespoon honey, one-quarter teaspoon vanilla extract, and one pinch sea salt. Oat milk provides the closest texture match to dairy milk, while coconut yogurt adds appropriate creaminess. Blend identically to the traditional recipe; the dairy-free version produces equally smooth and satisfying results.
How should I serve my pear milkshake at a dinner party or gathering without it becoming watered down?
Blend pear milkshakes in small batches immediately before guests arrive, pouring each serving into pre-chilled glasses from the freezer. Keep pre-chilled glasses in the freezer until two minutes before serving to maintain optimal temperature. Alternatively, prepare pear puree the morning of your event by blending pears with milk and yogurt without ice, then store in the refrigerator. When guests arrive, re-blend this puree with fresh ice just before serving, ensuring each guest receives a perfectly cold, creamy drink.
Conclusion
This pear milkshake delivers natural, creamy refreshment that tastes restaurant-quality yet requires only five minutes of preparation. The combination of medium-ripe pears, cold milk, and precise blending creates a smooth texture that distinguishes this drink from ordinary fruit beverages. Follow these exact measurements and techniques to experience the perfect balance of natural pear sweetness, vanilla warmth, and satisfying creaminess. Make your first pear milkshake today and discover why this classic fruit drink remains a favorite at Fresh Recipes Corner.
Pear Milkshake Recipe: Creamy Fruit Drink
Ingredients
- 2 ripe pears, quartered and cored
- 1 cup cold milk (dairy or plant-based)
- 1 cup ice cubes
- 1–2 teaspoons honey or maple syrup (adjust to taste)
Instructions
- Place pears, milk, and sweetener in a blender.
- Blend on high until smooth and creamy (about 1 minute).
- Add ice cubes and blend again until chilled and thick.
- Pour into two glasses and serve immediately.