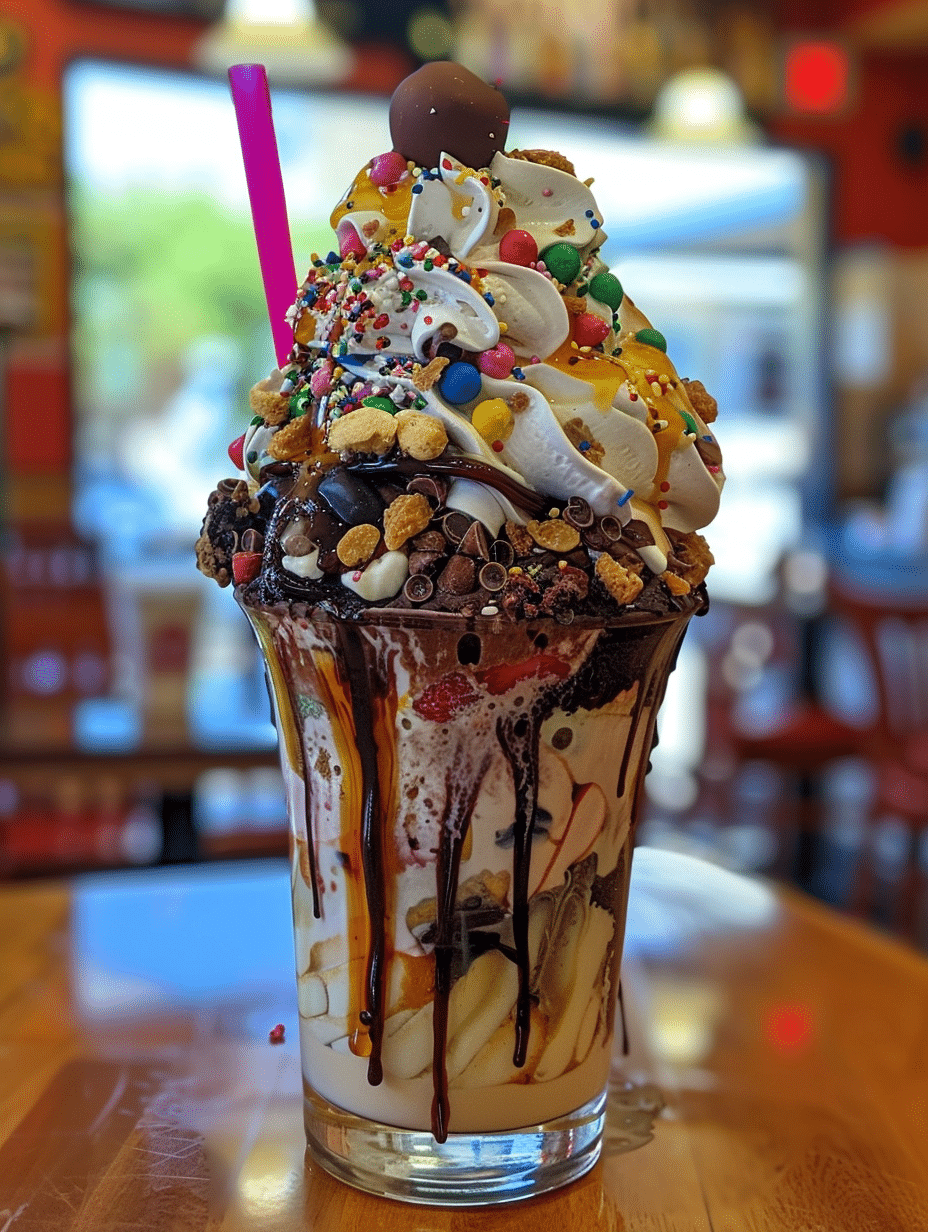
A loaded milkshake is an indulgent beverage that combines creamy ice cream, rich milk, fresh fruits, and delicious toppings into one satisfying drink. I create these thick, decadent milkshakes by layering premium ingredients that transform ordinary dairy into an extraordinary treat. Whether you’re craving chocolate, vanilla, or fruit-forward flavors, loaded milkshakes deliver intense taste in every thick, luxurious sip. This recipe guides you through crafting café-quality shakes at home using simple techniques and readily available ingredients.
About the Recipe Creator
I’m Maya Collins, a 29-year-old from Austin, Texas, and co-creator at Fresh Recipes Corner, where I focus on simple, refreshing drinks you can make anytime. I started by mixing juices in my mom’s kitchen just for fun, and over time it turned into a real passion. I love working with fruits, herbs, and natural ingredients to create mocktails, smoothies, and soft drinks that are easy but full of flavor.
My journey with loaded milkshakes began when I experimented with layering techniques and premium ice cream brands to achieve that authentic diner-style thickness. I’ve tested hundreds of combinations, from classic chocolate to adventurous fruit medleys, and I’m excited to share my expertise with you. Every loaded milkshake I create reflects my commitment to quality ingredients and bold, memorable flavors.
Recipe Overview
| Metric | Value |
|---|---|
| Prep Time | 5 minutes |
| Cook Time | 0 minutes |
| Total Time | 5 minutes |
| Servings | 2 servings |
| Difficulty Level | Easy |
| Cuisine | American Diner |
Why This Loaded Milkshake Recipe Works
This loaded milkshake recipe succeeds because it balances creaminess with flavor complexity through strategic ingredient ratios. I discovered that using two parts premium ice cream to one part milk creates the perfect viscosity—thick enough to require a spoon, yet drinkable through a standard straw. The combination of vanilla and flavored ice cream bases provides neutral backbone support while fruits and toppings deliver personality and excitement.
I’ve learned that temperature control matters tremendously in loaded milkshake success. Using ice cream straight from the freezer, chilled glasses, and blending for precisely thirty seconds prevents separation and ensures optimal thickness throughout the drinking experience. The layering technique I employ—placing whipped cream at the bottom, building ice cream layers, then topping with garnishes—creates visual appeal while preserving distinct flavor zones with each sip.
What makes this recipe truly special is the customization potential combined with foolproof methodology. Whether you follow my classic chocolate-peanut variation or create your own fruit-based loaded milkshake, the fundamental principles remain consistent. You’ll achieve café-quality results without expensive equipment or professional training, just proper technique and quality ingredients.
Ingredients
| Ingredient | Quantity | Notes and Alternatives |
|---|---|---|
| Vanilla ice cream | 2 cups | Use premium quality; substitute with salted caramel or French vanilla for depth |
| Chocolate ice cream | 1 cup | Optional but recommended; try mint chocolate chip or cookies and cream |
| Whole milk | 1 cup | Use cold milk; oat milk or almond milk work well for dairy-free versions |
| Whipped cream | ½ cup | Fresh whipped cream preferred; canned works if unsweetened |
| Fresh strawberries | ½ cup sliced | Use ripe berries; frozen berries add thickness but dilute with melting |
| Chocolate syrup | 3 tablespoons | Choose high-quality syrup; substitute with fruit sauce or caramel |
| Crushed graham crackers | 2 tablespoons | For topping; alternatives include cookie crumbs, sprinkles, or nuts |
| Maraschino cherries | 2 whole cherries | Traditional garnish; substitute with fresh cherry or berry |
| Peanut butter powder | 1 tablespoon (optional) | Adds nutty depth; skip if nut allergies present |
| Vanilla extract | ¼ teaspoon | Enhances vanilla notes; use pure extract, not imitation |
Step-by-Step Instructions
Preparation Phase
- Gather all ingredients and arrange them in your workspace for efficient assembly.
- Remove vanilla and chocolate ice cream from freezer and let sit at room temperature for exactly two minutes to soften slightly.
- Pour cold milk into a measuring cup and place in refrigerator until blending time.
- Chill your blender pitcher by running cold water through it and discarding excess.
- Chill two tall milkshake glasses in the freezer for three minutes.
Blending Phase
- Add vanilla extract and peanut butter powder to the cold blender pitcher first.
- Scoop softened vanilla ice cream into the blender, breaking larger chunks into smaller pieces.
- Add chocolate ice cream on top of vanilla layer without stirring.
- Pour measured cold milk slowly over ice cream while holding pitcher steady.
- Secure blender lid tightly and blend on medium speed for exactly thirty seconds.
- Check consistency; if too thick, add two tablespoons milk and blend five seconds more.
- Stop blender immediately once desired thickness achieved to prevent overblending and separation.
Assembly and Topping Phase
- Prepare chilled glasses by drizzling chocolate syrup inside the walls in vertical stripes.
- Divide whipped cream evenly between both glasses, creating stable base layer.
- Pour blended milkshake mixture slowly over whipped cream, filling glasses three-quarters full.
- Top each loaded milkshake with additional whipped cream using an ice cream scoop or spoon.
- Sprinkle crushed graham crackers and sliced strawberries over whipped cream peaks.
- Place one maraschino cherry on top of each loaded milkshake crown.
- Insert tall spoons into glasses and serve immediately while components remain distinct and cold.
Chef Tips for Perfect Results
- Use ice cream that’s been in your freezer at least four hours; softer ice cream creates runny rather than loaded milkshakes with poor texture and consistency.
- Always blend for exactly thirty seconds, not longer; over-blending causes separation where liquid settles at glass bottom and foam rises at top.
- Pre-chill glasses for minimum three minutes; room-temperature glasses melt ice cream rapidly and dilute your loaded milkshake within minutes.
- Drizzle chocolate syrup before adding milkshake mixture so it adheres to glass walls and doesn’t sink immediately to bottom.
- Use whole milk instead of skim; the fat content creates authentic thickness that skim milk cannot replicate.
- Add toppings immediately after pouring; waiting causes whipped cream to compress and lose volume.
Common Mistakes to Avoid
Mistake 1: Blending Too Long or Too Fast Blending loaded milkshakes on high speed for more than thirty seconds breaks down ice cream structure and creates separation. The solution: blend on medium speed for exactly thirty seconds, then stop immediately. Listen for a consistent whirring sound; if it changes to slurping, stop blending right away.
Mistake 2: Using Warm Ice Cream Allowing ice cream to soften beyond two minutes transforms it into liquid rather than maintaining thick texture. Prevention requires removing ice cream from freezer only when ready to blend, then scooping quickly. If ice cream seems too hard, increase room-temperature sitting time by only thirty seconds, not more.
Mistake 3: Skipping the Chilled Glass Step Pouring loaded milkshake into room-temperature glasses causes rapid melting and inconsistent drinking experience. Always pre-chill glasses in the freezer for minimum three minutes while preparing other components. This single step extends your loaded milkshake’s quality window from five minutes to fifteen minutes.
Mistake 4: Adding Too Much Milk Using excessive milk creates thin smoothies instead of loaded milkshakes that require spoons. Follow the one-cup milk guideline strictly; you can always add more, but removing excess milk is impossible. Test thickness with a straw before adding the final milk tablespoon.
Mistake 5: Neglecting Ingredient Quality Using bargain ice cream brands with excessive gums and stabilizers produces grainy texture despite following instructions perfectly. Invest in premium ice cream with simple ingredient lists; the quality difference directly impacts your loaded milkshake’s final taste and texture.
Variations and Substitutions
| Original Ingredient | Substitution Option | Impact on Flavor Profile |
|---|---|---|
| Vanilla ice cream | Salted caramel ice cream | Adds sweet-savory complexity and sophisticated depth to loaded milkshake |
| Chocolate ice cream | Strawberry ice cream | Creates fruity brightness instead of rich chocolate, lighter taste overall |
| Whole milk | Oat milk or almond milk | Dairy-free option with slightly different mouthfeel; oat milk maintains creaminess best |
| Chocolate syrup | Caramel sauce or fruit coulis | Shifts flavor profile from chocolate to caramel or fruit while maintaining wall adhesion |
| Strawberries | Fresh raspberries or blueberries | Changes flavor notes; raspberries add tartness, blueberries provide subtle earthiness |
| Graham crackers | Crushed cookies or granola | Cookie crumbs add sweetness; granola adds texture complexity and slight bitterness |
| Peanut butter powder | Almond butter powder or cocoa powder | Creates different nutty profile or intensifies chocolate notes respectively |
| Whipped cream | Coconut whipped cream or Greek yogurt | Coconut adds tropical notes; Greek yogurt provides tang and reduces sweetness |
Serving Suggestions and Pairings
Serve loaded milkshakes at birthday celebrations, casual dinner parties, or weekend family gatherings where indulgence is embraced. Pair your loaded milkshake with classic American fare like burgers, hot dogs, and crispy fries for authentic diner experience. The thick texture and rich sweetness complement savory entrées perfectly by providing palate-cleansing contrast.
Create loaded milkshake bars for special events where guests customize their own versions by selecting ice cream flavors, syrups, and toppings. Afternoon tea occasions benefit from smaller loaded milkshake portions paired with cookies or pastries. Summer pool parties elevate served loaded milkshakes by garnishing with mini umbrellas and colorful straws for festive presentation.
For dessert-focused occasions, serve loaded milkshakes after meals to conclude dinners memorably. Kids’ birthday parties become special events when children participate in loaded milkshake creation and customization. Consider pairing loaded milkshakes with warm pie or cake for temperature contrast that heightens both components’ appeal.
Storage and Reheating
| Storage Method | Maximum Duration | Instructions |
|---|---|---|
| Refrigerator (prepared) | 15 minutes maximum | Cover with plastic wrap; milkshake separates significantly after fifteen minutes despite cold storage |
| Blended mixture (plain) | 2 hours refrigerated | Store in sealed container without toppings; add toppings immediately before serving |
| Freezer storage | Not recommended | Freezing causes crystallization and destroys desired creamy texture completely |
| Pre-portioned ice cream | 1 week frozen | Scoop ice cream onto parchment paper, freeze solid, then store in freezer bag |
Loaded milkshakes should be consumed immediately after assembly for optimal taste and texture experience. The whipped cream layer begins compressing after ten minutes while syrup settles to glass bottom. If preparing ahead, blend the milkshake mixture only and refrigerate separately, then assemble with fresh toppings just before serving.
Nutritional Information
Approximate values per serving of loaded milkshake recipe as written:
| Nutrient | Amount per Serving |
|---|---|
| Calories | 520 cal |
| Protein | 12 g |
| Fat | 28 g |
| Carbohydrates | 62 g |
| Fiber | 1 g |
| Sugars | 48 g |
| Sodium | 145 mg |
These values vary based on specific ice cream brands, milk type, and topping quantities. Using dairy-free milk reduces fat and calories slightly while maintaining protein content. Premium ice cream brands typically contain higher fat percentages, increasing nutritional values accordingly.
Frequently Asked Questions
Can I make a loaded milkshake without a blender?
You can make loaded milkshakes using a hand mixer or immersion blender with slightly different results. Hand mixers require longer blending time and produce less uniform texture but still create drinkable consistency. The immersion blender works best when used in tall glasses with minimal mixture, though achieving perfectly smooth texture takes longer than standard blenders.
What’s the best ice cream brand for loaded milkshakes?
Premium full-fat ice cream brands like Häagen-Dazs, Ben & Jerry’s, and local artisan creameries produce the best loaded milkshakes due to minimal stabilizers and high fat content. These brands maintain structural integrity through blending without separating into liquid and foam layers. Economy brands often contain excessive gums that create grainy mouthfeel despite proper technique.
Why is my loaded milkshake too thin?
Thin loaded milkshakes result from using soft ice cream, excessive milk, or blending too long on high speed. Reduce milk quantity by two tablespoons, use firmer ice cream straight from freezer, and blend for only thirty seconds on medium speed. If these adjustments don’t improve thickness, your ice cream brand may contain too many stabilizers; switch to premium quality next time.
How far in advance can I prepare loaded milkshake components?
Prepare toppings and syrups up to one day ahead stored separately in the refrigerator. The blended milkshake mixture keeps for two hours refrigerated without toppings; add garnishes only immediately before serving. Pre-chilled glasses can be prepared thirty minutes ahead while staying frozen.
Can I use frozen fruit instead of fresh in loaded milkshakes?
Frozen fruit works but requires careful usage since melting dilutes your loaded milkshake throughout drinking. Use frozen fruit blended into the mixture itself rather than as fresh toppings. Frozen berries add volume but increase liquid content significantly, so reduce milk by three tablespoons when incorporating frozen fruit into base mixture.
What makes a loaded milkshake different from regular milkshakes?
Loaded milkshakes contain higher ice cream-to-milk ratios creating thick, spoon-requiring consistency, while regular milkshakes maintain thinner drinkability. Loaded milkshakes feature substantial toppings including whipped cream, syrups, and garnishes, whereas regular milkshakes often skip elaborate garnishing. The loaded designation emphasizes abundance of flavors, textures, and indulgent presentation throughout the drinking experience.
Conclusion
Loaded milkshakes deliver diner-quality indulgence through simple techniques and quality ingredients you can master immediately. Follow this recipe’s precise ratios and temperature guidelines to achieve thick, luxurious texture consistently. Customize your loaded milkshake with preferred ice cream flavors, syrups, and toppings while maintaining the fundamental formula for guaranteed success every time.
Share your loaded milkshake creations with friends and family, transforming ordinary dessert moments into memorable celebrations. Whether you prefer classic chocolate-peanut combinations or adventurous fruit variations, this loaded milkshake recipe provides the foundation for endless creativity. Start blending today and discover why loaded milkshakes remain America’s most beloved indulgent beverage.
Loaded Milkshake Recipe: Creamy Bliss
Ingredients
- 1 cup vanilla ice cream (frozen, not softened)
- 1 cup chocolate ice cream (frozen, not softened)
- 1 cup chilled whole or 2% milk
- 1/2 cup whipped cream (store-bought or homemade)
- 2 medium bananas, sliced
- 2 tablespoons dark or semi-sweet chocolate sauce
- 1/4 cup rainbow sprinkles (neon or classic)
- 1/2 cup fresh strawberries or blueberries (chopped)
Instructions
- Place whipped cream at the bottom of two tall glasses
- Blend vanilla and chocolate ice cream with milk for 30 seconds
- Pour half the blended mixture into each glass
- Add banana slices and drizzle with chocolate sauce on top of the ice cream
- Evenly layer remaining whipped cream over the shakes
- Sprinkle with colorful toppings and finish with fresh berry slices
- Serve immediately, ideally with a straw and spoon for thick layers
Notes
Substitute any fruit-based ice cream for an alternate flavor base
Add 1/2 oz chocolate syrup if additional flavor intensity is desired
Replace berries with chopped nuts for a non-fruit version